Chia sẻ file trong mạng LAN - Hệ thống NAS nhà làm
Tạo NAS server với Samba
$ sudo apt install samba samba-common-bin -y
$ sudo nano /etc/samba/smb.conf
Cấu hình theo mẫu như sau ở dưới cùng của file smb
Nhớ chỉnh path đúng thực tế
$ sudo /etc/init.d/smbd restart
Thiết lập để SAMBA đọc được thiết bị
Allow the Raspberry Pi to read and interpret exFAT drives
sudo apt install exfat-fuse | sudo apt install exfat-utils -ys
Nếu không setup theo định dạng này thì bỏ qua để không làm giảm tốc độ đọc
Mounting the Drive to the Raspberry Pi
Kiểm tra danh sách ổ đĩa:
$ lsblk -forlsblkFormat disk (Optional):
sudo mkfs -t ext4 /dev/sdb1Tạo điểm mount:
$ sudo mkdir -p /mnt/sda1Mount:
$ sudo mount /dev/sda1 /mnt/sda1Cấp quyền:
$ sudo chown -R pi:pi /mnt/sda1
Cấp riêng quyền đọc ghi cho pi trong folder bất kỳ
$ sudo chown -R pi:pi /mnt/sda1
Kiểm tra phân quyền
$ ls -l /mnt/sda1
Thêm user vào nhóm đã được phân quyền
$ sudo usermod -aG pi leolion
Thêm user khác
$ sudo useradd leolion
Tạo mật khẩu cho user SMB
$ sudo smbpasswd -a leolion
Setup mount ổ đĩa tự động
$ sudo nano /etc/fstab
Lấy mã UUID theo thông tin trả về trong câu lệnh: lsblk -f
Cài đặt NAS để có thể backup được time machine
sudo apt-get install samba avahi-daemon
Cần bổ sung cấu hình file samba để support định dạng time machine hiểu được
sudo nano /etc/samba/smb.conf
Reload lại samba
sudo service smbd reload
Configuring Avahi deamon
In order to let MacOS automatically detect our new Time Machine we’ll need to configure Avahi. For that edit the following file:
And paste this configuration in:
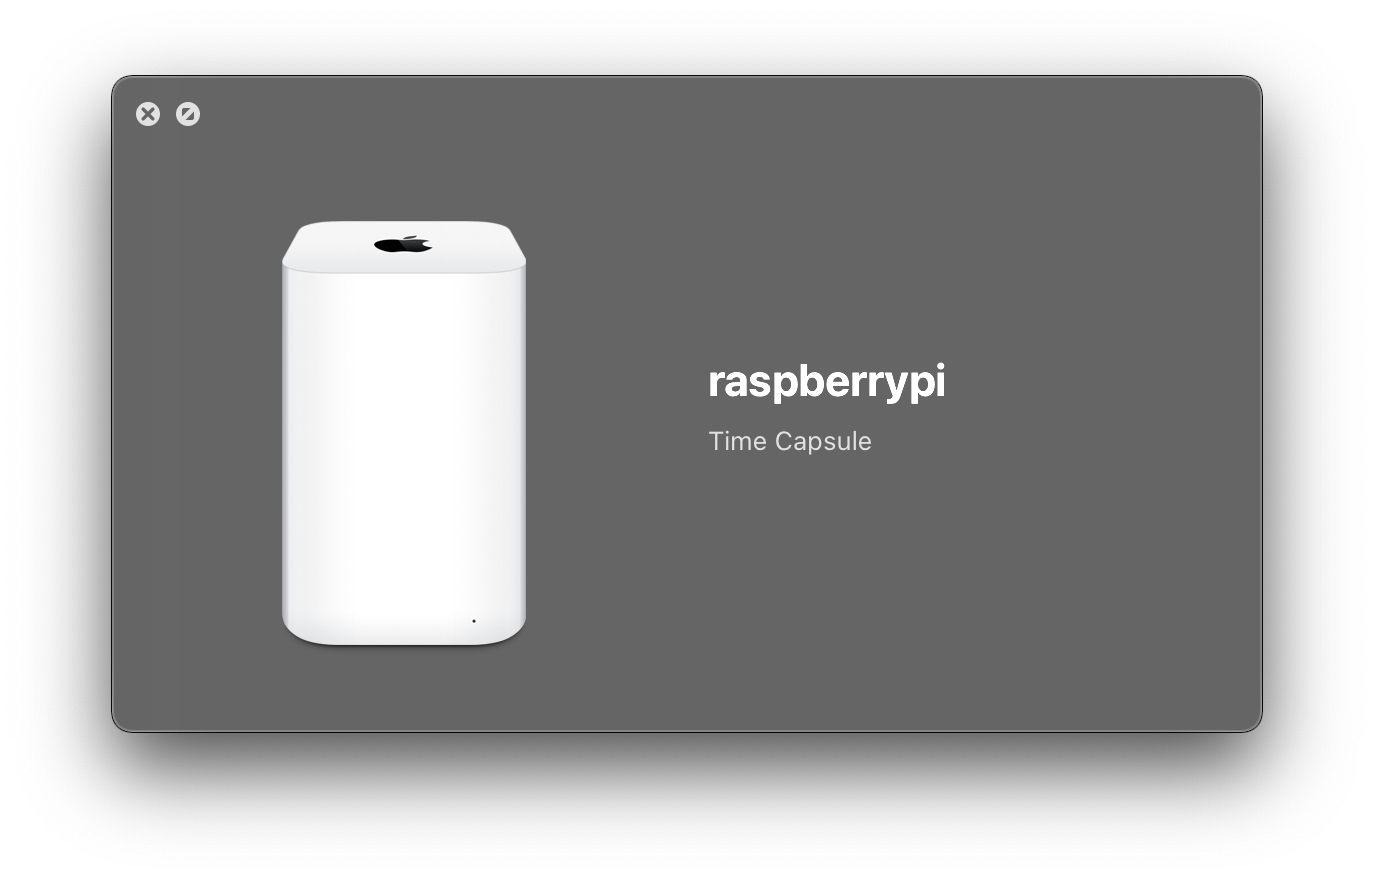
With this we tell MacOS that in fact our Raspberry Pi is a 8th Gen Time Capsule and it will appear like one in the sidebar in Finder.
Restart Avahi daemon:
Automated start of the services
We need to edit crontab with:
We’ll mount the USB drive and start the needed services on a boot/reboot:
Last updated
Was this helpful?
